


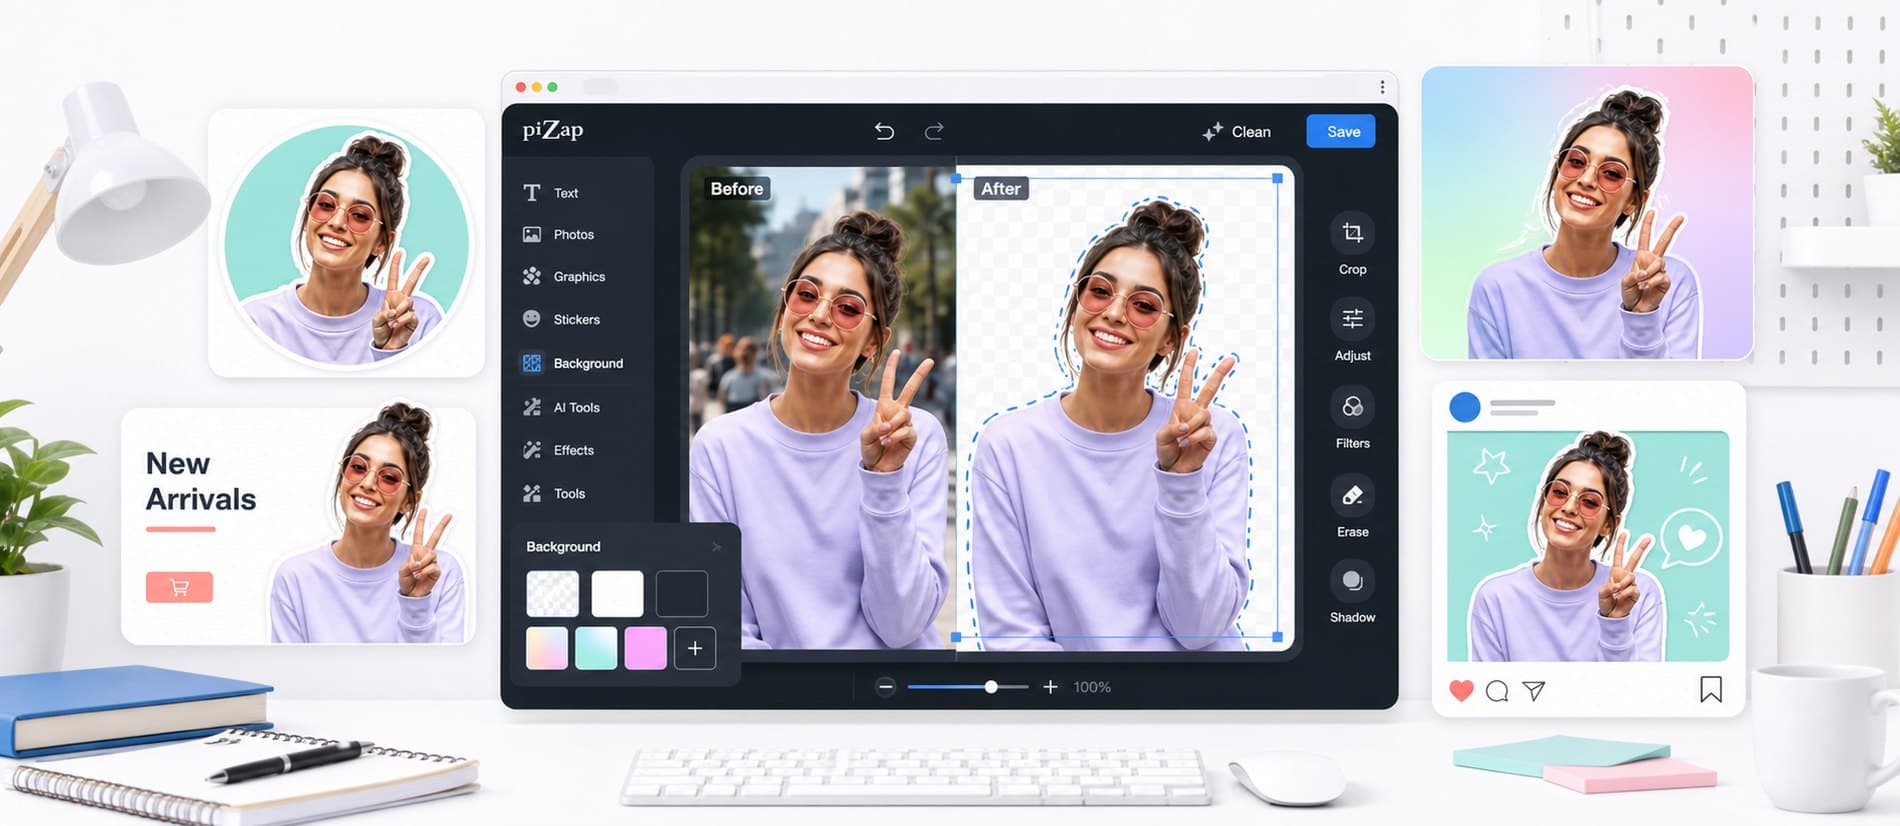
In piZap, you can remove distractions and prepare photos for creative layouts. Start with a photo where the subject should stand out more clearly, choose a direction, and keep shaping it until it feels right for the final use.
Lead with the part people should notice first. From there, use photo uploads, crop tools, background choices, text, stickers, frames, and editor controls to add personality, clarify the message, and keep the whole design feeling connected.
Start by deciding where the finished image will appear, because profile photos, product cards, and social posts need different crop space.
When you are ready to create, open piZap with one example direction in mind. Try a few variations, compare what works, and save the version that best fits your audience and format.
Step by step
From first idea to finished design
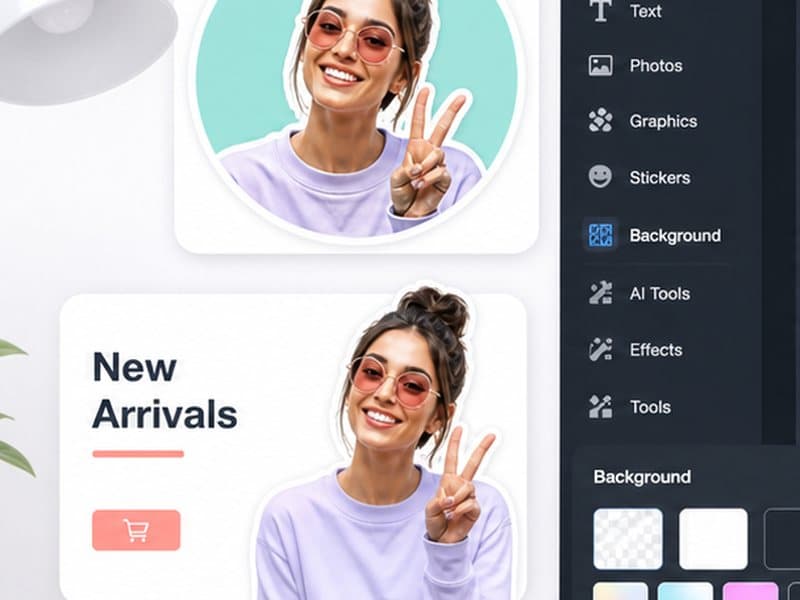
Start with a photo where the subject should stand out more clearly. Choose a template or canvas that matches where the finished design will appear.
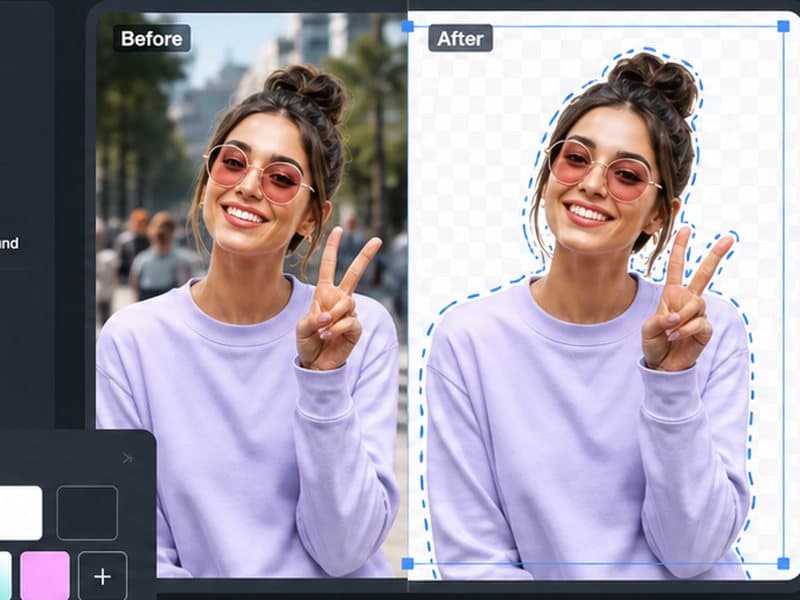
Build the main visual around the part people should notice first. Add your photo or idea, set the crop, write concise text, and use photo uploads, crop tools, background choices, text, stickers, frames, and editor controls where they improve the design.
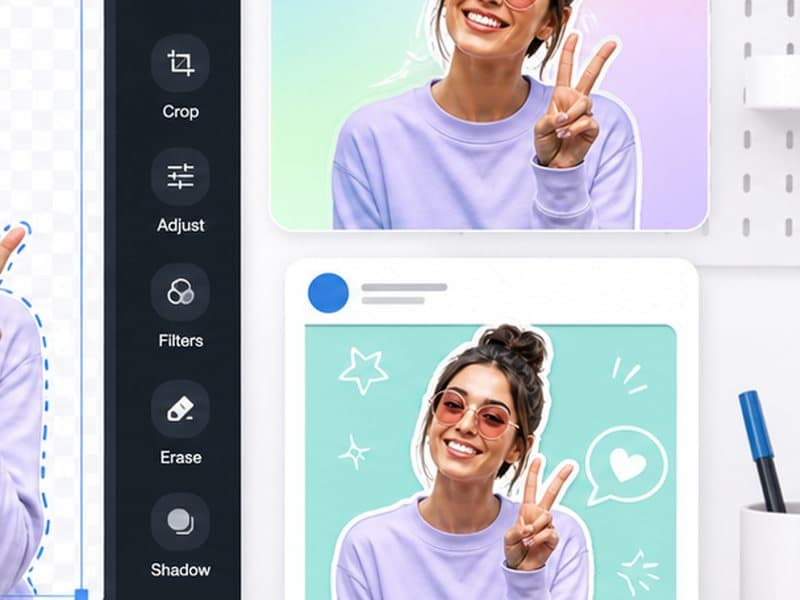
Review the result at the size people will actually see it, then save it or adapt another version for a related format.
Start with what you want to make
Begin with a photo where the subject should stand out more clearly, choose the direction that feels most promising, and shape it around where the finished design will be shared, posted, printed, or saved. You can refine the details as the idea takes shape.
Make it your own
- Profile images
- Product-style cards
- Social graphics
- Collage cutouts
Details that make the design work
- Start by deciding where the finished image will appear, because profile photos, product cards, and social posts need different crop space.
- Choose photos with clear subject edges whenever possible.
- Zoom in around hair, clothing, and small details before saving the final layout.
- Use a background that supports the subject instead of competing with it.
- Add text only after the subject and crop feel balanced.
Bring it together in piZap
Start by deciding where the finished image will appear, because profile photos, product cards, and social posts need different crop space. Open a template or bring your own image into piZap, make the main creative choice first, and then add text, stickers, effects, or backgrounds where they help the idea come through.
Keep creating with piZap
Ready when you are
Bring your idea to life in piZap
Open the editor with your idea or image, try a few directions, and shape the result until it feels ready for the people and place you have in mind.
Create with piZap