


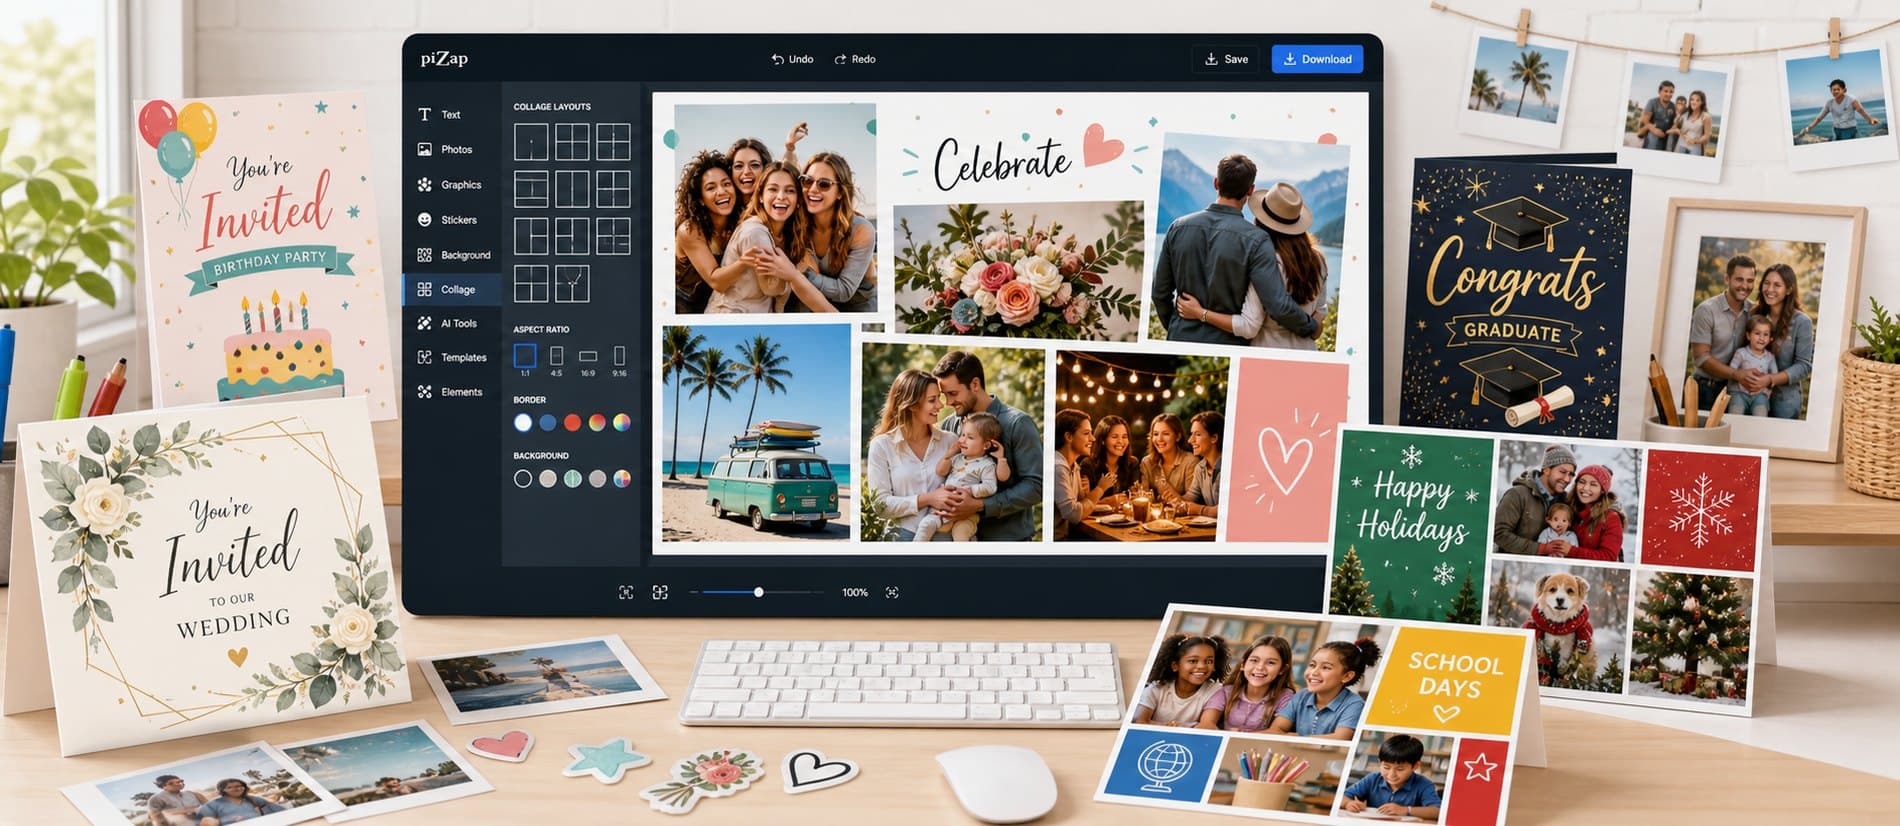
In piZap, you can make Halloween cards, invites, posts, and spooky-fun graphics. Start with favorite photos, a card idea, an event message, or a collage layout, choose a direction, and keep shaping it until it feels right for the final use.
Lead with the part people should notice first. From there, use collage layouts, card templates, frames, stickers, text, photo effects, and backgrounds to add personality, clarify the message, and keep the whole design feeling connected.
Put the message, date, or recipient information first, then add photos and decorative elements around that hierarchy.
When you are ready to create, open piZap with one example direction in mind. Try a few variations, compare what works, and save the version that best fits your audience and format.
Step by step
From first idea to finished design
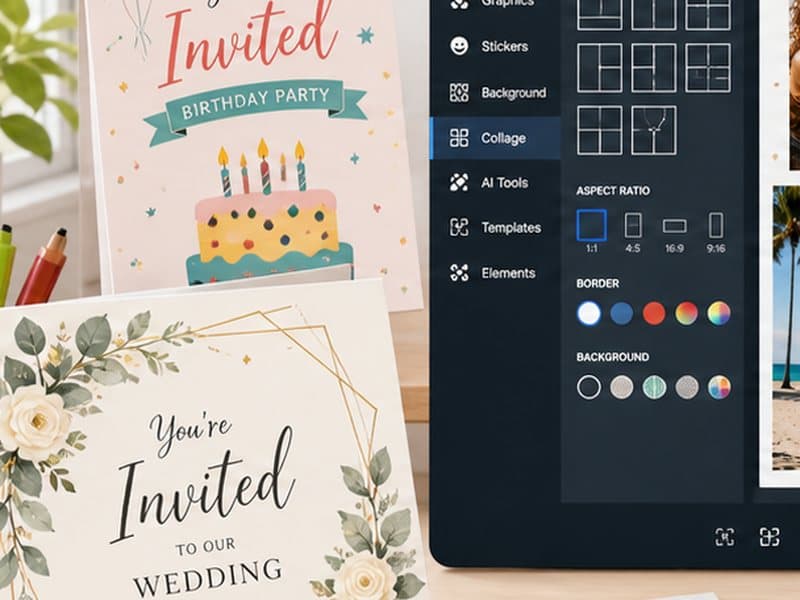
Start with favorite photos, a card idea, an event message, or a collage layout. Choose a template or canvas that matches where the finished design will appear.
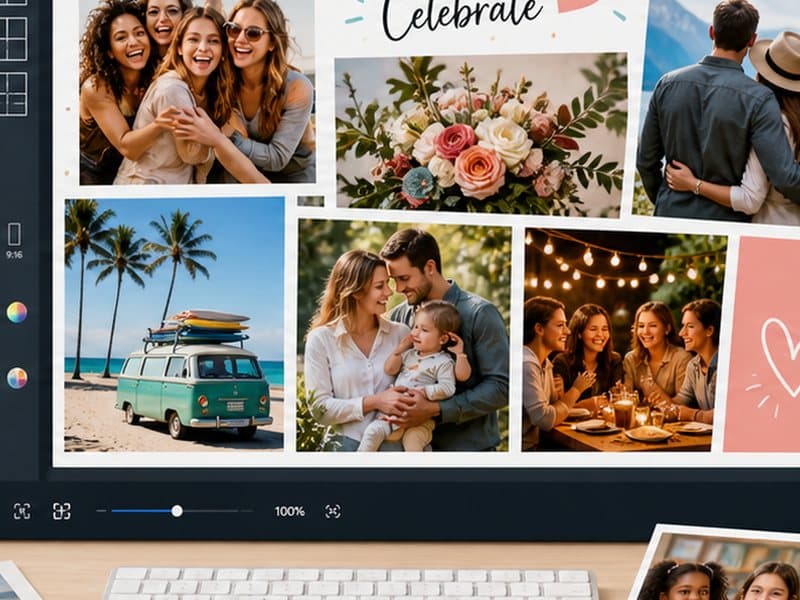
Build the main visual around the part people should notice first. Add your photo or idea, set the crop, write concise text, and use collage layouts, card templates, frames, stickers, text, photo effects, and backgrounds where they improve the design.

Review the result at the size people will actually see it, then save it or adapt another version for a related format.
Start with what you want to make
Begin with favorite photos, a card idea, an event message, or a collage layout, choose the direction that feels most promising, and shape it around where the finished design will be shared, posted, printed, or saved. You can refine the details as the idea takes shape.
Make it your own
- Greeting cards
- Thank-you notes
- Holiday messages
- Personal announcements
Details that make the design work
- Put the message, date, or recipient information first, then add photos and decorative elements around that hierarchy.
- Use fewer photos when the message or event details are important.
- Make the headline and date easy to read before adding decoration.
- Repeat one color or sticker style across the design for a more finished look.
- Keep faces away from tight edges and decorative frames.
Bring it together in piZap
Put the message, date, or recipient information first, then add photos and decorative elements around that hierarchy. Open a template or bring your own image into piZap, make the main creative choice first, and then add text, stickers, effects, or backgrounds where they help the idea come through.
Keep creating with piZap
Ready when you are
Bring your idea to life in piZap
Open the editor with your idea or image, try a few directions, and shape the result until it feels ready for the people and place you have in mind.
Create with piZap